Redscale Film Photography — A Complete Guide to Shooting, DIY Loading, and Getting Stunning Color Results
TK Broecker / 13 September 2026
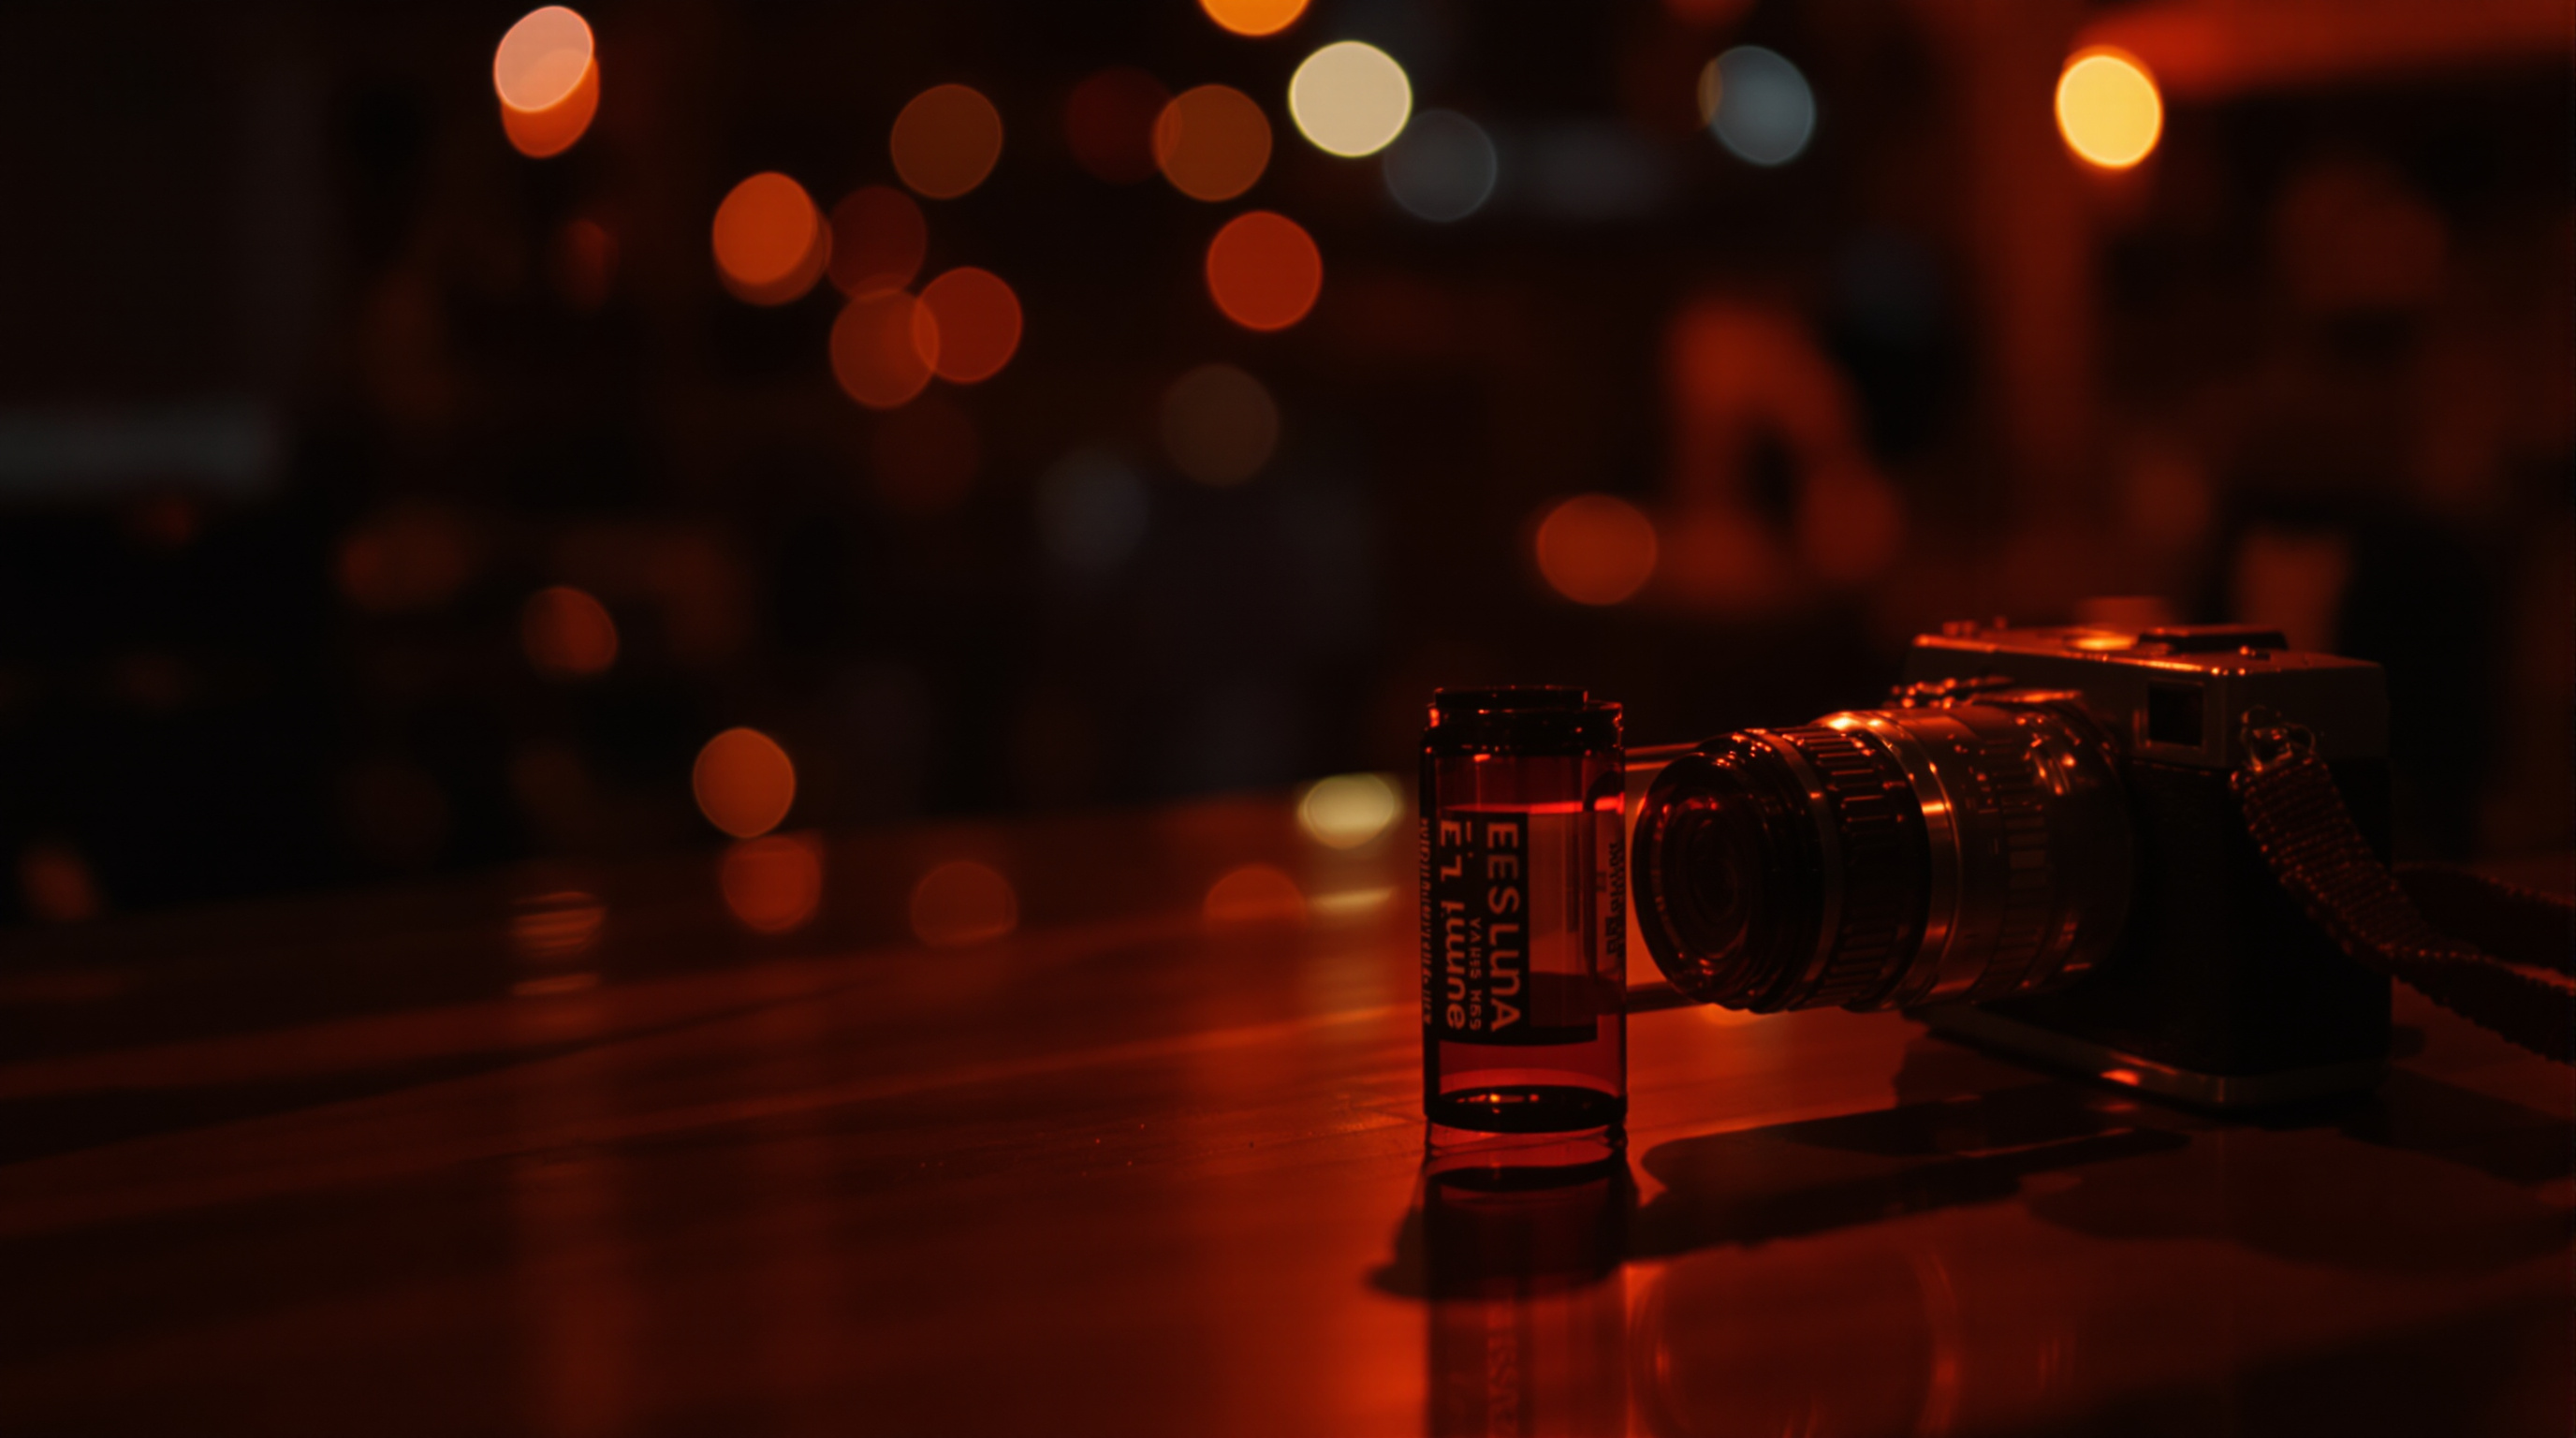
Redscale film photography is one of the most visually striking techniques in the world of analog photography. By exposing film through its base rather than its emulsion side, photographers unlock a palette of deep reds, burnt oranges, and golden yellows that no filter or digital preset can truly replicate. Whether you're shooting in Louisville, Kentucky or anywhere else, this guide will walk you through everything you need to know.
What Is Redscale Film and Why Does It Look That Way
Standard color negative film is composed of multiple emulsion layers, each sensitive to a different part of the light spectrum — typically cyan, magenta, and yellow dye layers sitting atop a red-sensitive base layer. In normal use, light enters from the emulsion side and strikes these layers in a precise order.
When you shoot redscale, the film is loaded backwards, so light must first pass through the acetate base and the red-sensitive layer before reaching the green- and blue-sensitive layers. Because the red layer absorbs most of the light before it reaches the other layers, the resulting images are dominated by red, orange, and yellow tones, with blues and greens almost entirely suppressed.
The exact color shift depends on several factors:
- ISO/exposure: Overexposing (shooting at a lower ISO than rated) pushes results toward yellow and orange; correct or underexposed shots lean deep red and brown.
- Film stock: Kodak ColorPlus 200, Fujifilm Superia, and Kodak Gold 200 each produce subtly different palettes in redscale.
- Light conditions: Bright midday sun produces vivid oranges; golden hour shooting yields rich amber and crimson tones.
How to DIY Load Your Own Redscale Film
You don't need to buy pre-made redscale rolls (though brands like Lomography sell them). With a bit of practice, you can re-spool any 35mm film yourself. Here's how to do it properly:
- Gather your materials: You'll need two 35mm film canisters (one loaded, one empty), a film changing bag or darkroom, and a small flat-head screwdriver.
- Enter complete darkness: Use a changing bag — a light-tight double-zippered bag designed for exactly this purpose — or work in a fully blacked-out room.
- Open the film canisters: Use the screwdriver to gently pop the cap off both canisters.
- Re-spool the film backwards: Pull the film out of the original canister and feed it emulsion-side out into the empty canister. The emulsion side is the slightly duller, less shiny side of the film.
- Tape and seal: Attach the film leader to the empty spool, wind it carefully, and replace the canister cap.
- Label your roll: Note the original ISO and that it's loaded as redscale. Many photographers rate the film at half or one-quarter of its box speed to allow for the light loss through the base layer — for example, shooting ISO 200 film at ISO 50 or 100.
In Louisville and across Kentucky, several film photography communities and local camera shops occasionally host film-loading workshops, making it a great social activity as well as a creative one.
Shooting Techniques for the Best Redscale Results
Once your redscale roll is loaded, exposure decisions become your most powerful creative tool.
Overexpose generously. Because light travels through extra layers of base material, the film needs more light than it ordinarily would. A common starting point is to rate your film at 1–2 stops below box speed. On a manual camera, this means adjusting your shutter speed or aperture to let in more light. On a point-and-shoot, you can trick the camera's meter by setting a lower ISO using the DX code override.
Subject matter and composition matter enormously with redscale:
- Architecture and cityscapes — Louisville's historic buildings along Main Street and NuLu take on an almost apocalyptic warmth in redscale.
- Portraits — Skin tones become dramatic and painterly, especially in warm, directional light.
- Nature — Foliage loses its green entirely, shifting toward rust and gold, which looks extraordinary during Kentucky's fall season.
Avoid shooting in flat, overcast light if you want vivid results. Redscale thrives on contrast and directionality. Backlighting, in particular, produces beautiful lens flare effects with a fiery, cinematic quality.
Developing Redscale Film — Tips and What to Expect
The good news is that redscale film is still standard C-41 color negative film — it's just been loaded and exposed differently. This means it can be developed at any lab that processes color film, including most local shops and mail-in services. No special chemistry is required.
However, there are a few tips to get the most from your negatives:
- Tell your lab it's redscale: Some automated lab scanners will try to color-correct the heavy red cast, neutralizing the very effect you're after. Ask for scans with no color correction or request the raw scan.
- Scan at home if possible: A flatbed scanner like the Epson Perfection V600 with the color correction turned off gives you full control over the final look.
- Don't be alarmed by the negatives: Redscale negatives look very cyan/blue when held up to light — this is the inverse of the warm tones you'll see in the positive scan or print, and it's completely normal.
- Push or pull in post: Even after scanning, subtle adjustments to highlights, shadows, and saturation can significantly shift the mood — from a muted vintage feel to a vivid, almost neon warmth.
In the Louisville area, film photographers often turn to local labs or regional mail-in services for C-41 processing. When submitting redscale rolls, always include a note with your roll specifying your exposure choices and whether you want corrections applied.
Conclusion
Redscale film photography is a rewarding, low-cost way to add bold and unpredictable color to your analog work. By understanding how film emulsion layers interact with reversed loading, mastering your exposure compensation, and communicating clearly with your lab, you can consistently produce images that feel both experimental and intentional. Whether you're exploring Louisville's streets or Kentucky's landscapes, redscale transforms the familiar into something entirely new.