Film Photography for Beginners — How to Load Your 35mm Camera, Shoot Like a Pro, and Prevent Light Leaks
TK Broecker / 26 April 2026
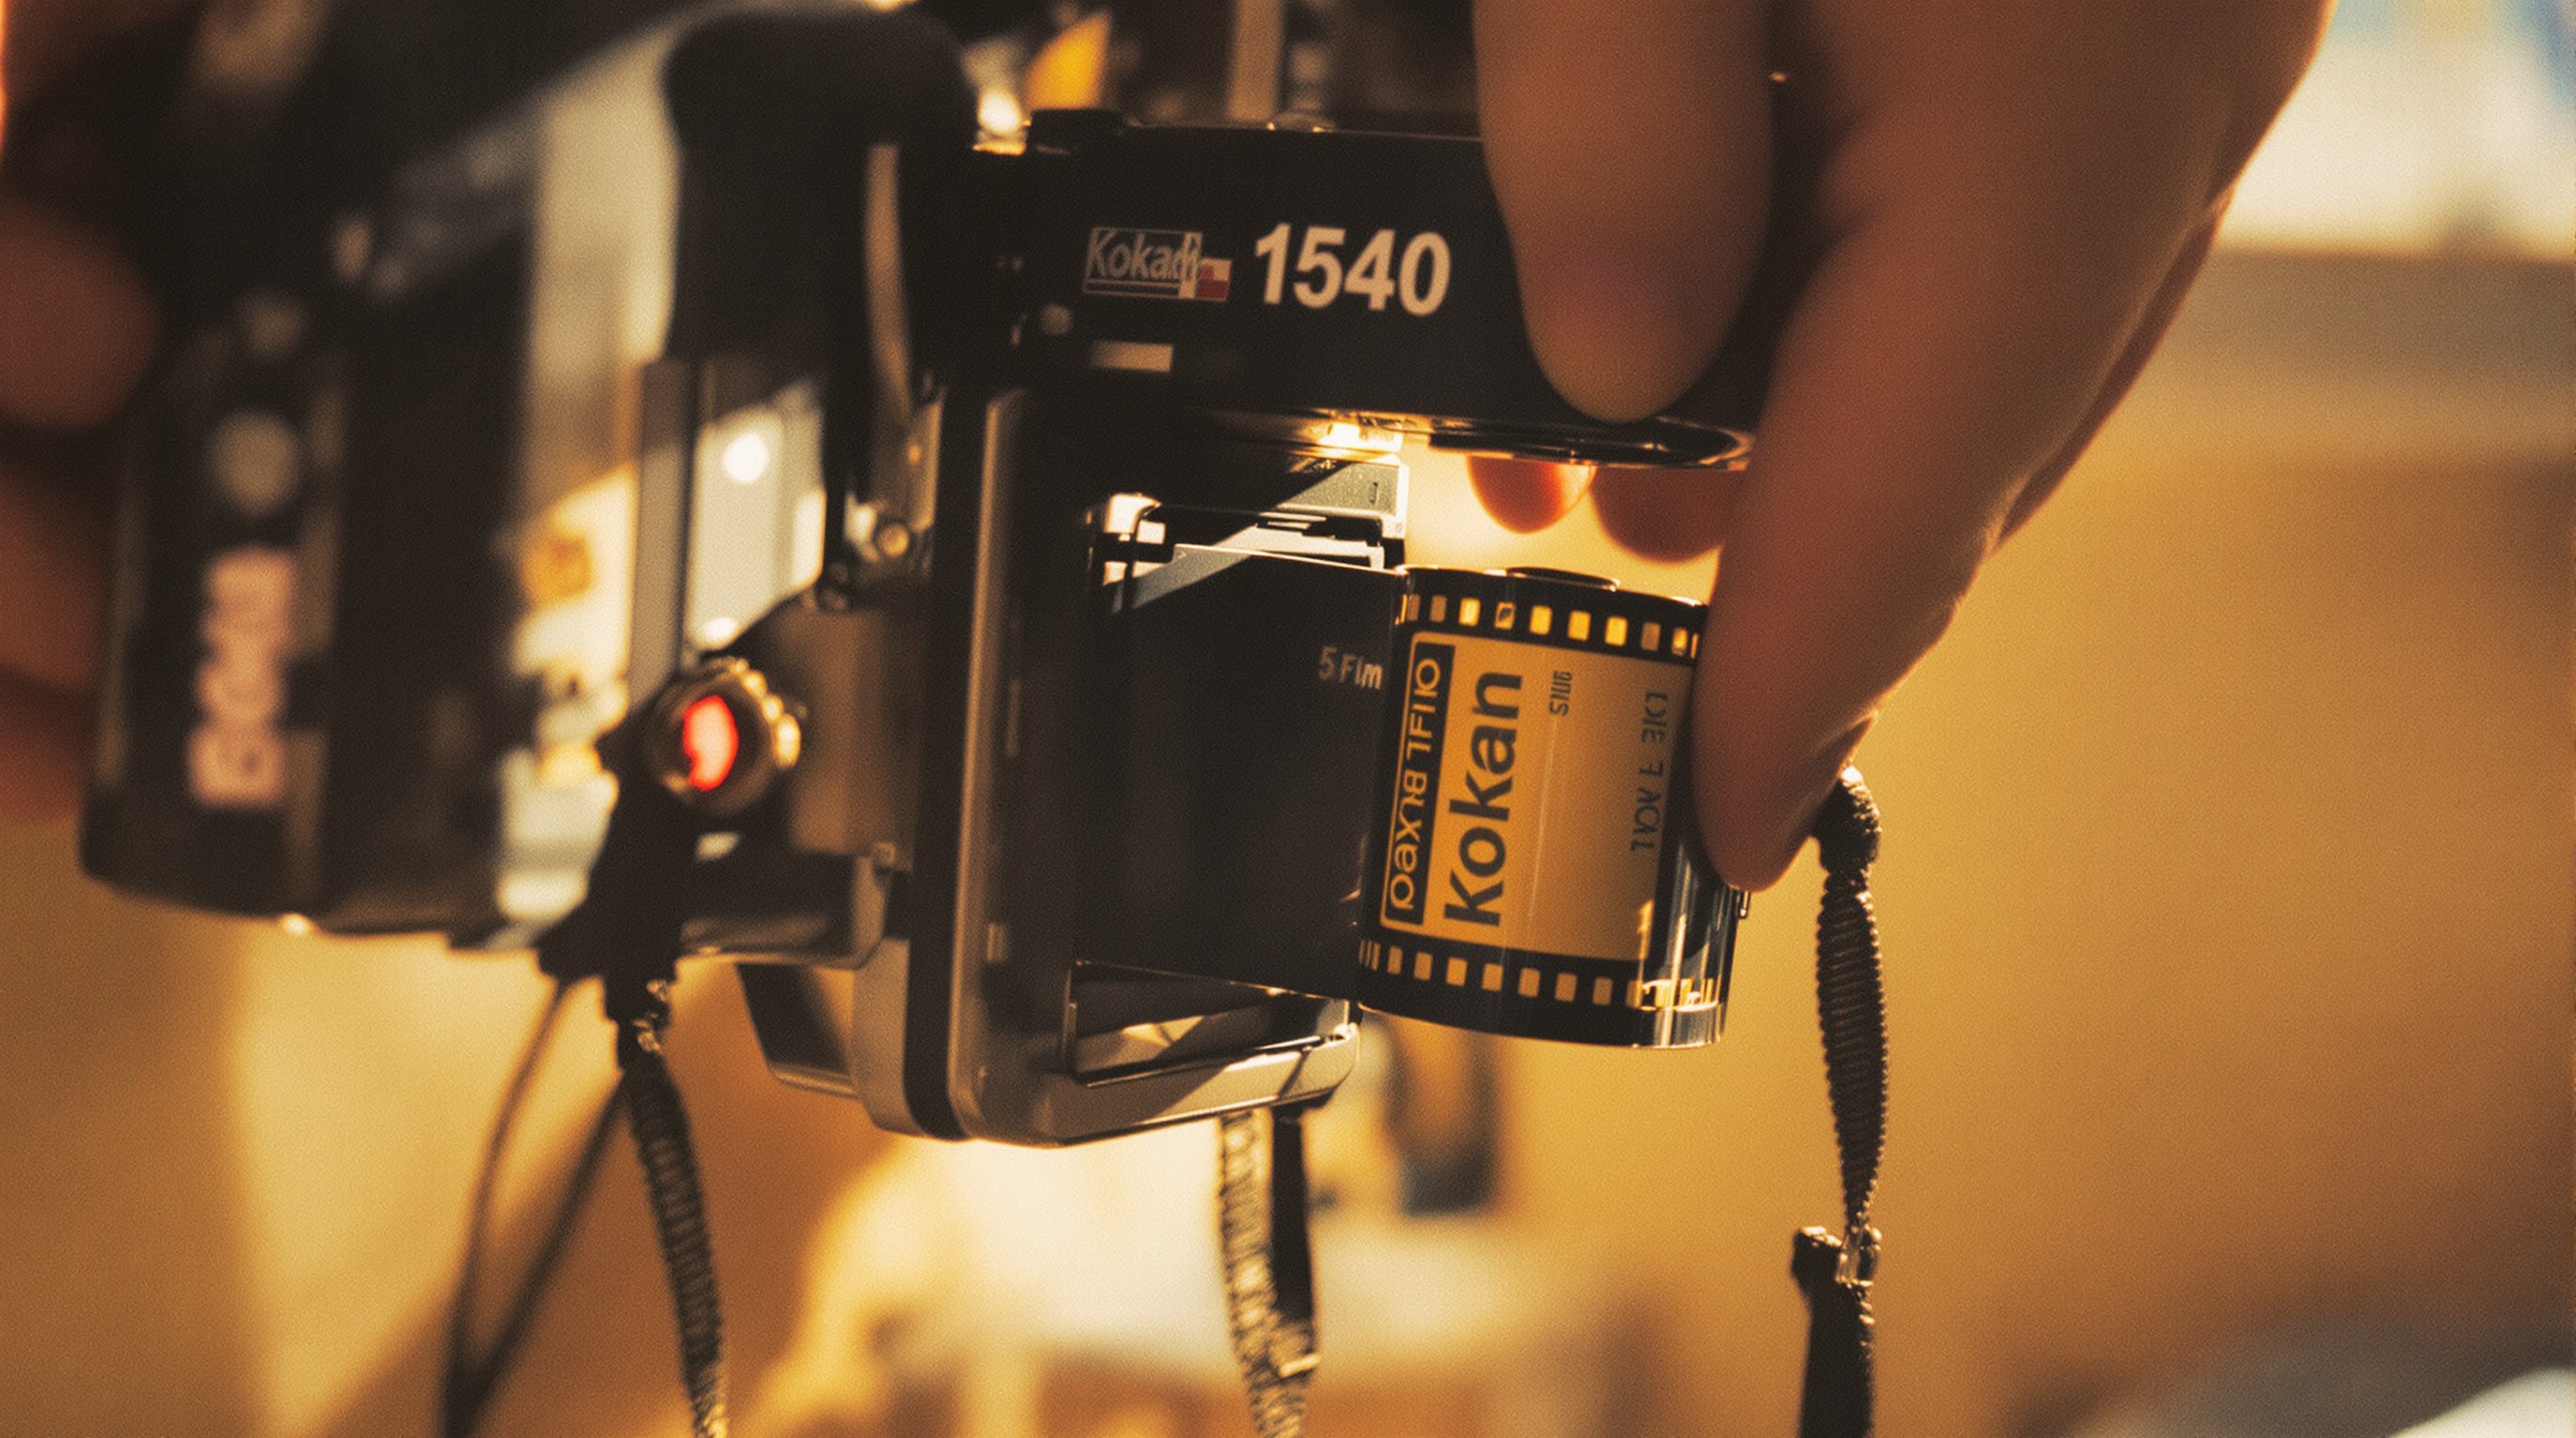
Film photography is having a remarkable renaissance. Whether you're drawn to the tactile experience of winding a roll of Kodak ColorPlus through a Canon AE-1 or chasing the warm, organic tones that only silver halide chemistry can produce, shooting analog in a city like Louisville means joining a growing community of photographers who value intention over instant gratification. But before your first roll is ruined — and it can be — you need to know the fundamentals.
How to Load a 35mm Film Camera Correctly
Loading 35mm film is one of those steps that feels intimidating the first time and second-nature by the tenth. Done wrong, it's the single most common cause of a completely blank or partially exposed roll. Here's how to do it right:
- Work in subdued light. You don't need a darkroom, but avoid loading in direct sunlight. Shade or an indoor environment is ideal.
- Open the camera back by pressing or sliding the release latch — usually located on the left side of the camera body.
- Insert the film canister into the chamber on the left. The film leader (the tapered strip of film sticking out) should pull across the camera toward the take-up spool on the right.
- Slot the film leader into the take-up spool. Most cameras have a slot or a set of teeth. Thread the leader in so it sits flush and straight.
- Advance the film carefully. Use the advance lever to wind the film forward one or two frames while making sure the sprocket holes along the film edge are catching the camera's sprocket teeth. This is critical — if the sprockets don't engage, the film won't actually advance even though the counter moves.
- Close the back and advance to frame 1. Most cameras require you to fire the shutter and advance two times to move past the film leader that was exposed to light during loading.
Pro tip: After loading, gently tug the rewind knob (usually on the top left) in the direction of its arrow. If it resists slightly, your film is tensioned and loaded correctly. If it spins freely, open the back and reload.
Film Camera Shooting Tips That Actually Make a Difference
Shooting on film forces you to slow down — and that's a feature, not a bug. With a finite number of exposures (typically 24 or 36 per roll), every frame counts. Keep these principles in mind:
- Understand the Exposure Triangle. Just like digital, film exposure is governed by aperture, shutter speed, and ISO. Unlike digital, you can't change the ISO mid-roll — it's set by the film stock you loaded. A roll of Kodak Ultramax 400 gives you ISO 400 for every single frame.
- Meter your light. Many vintage cameras have built-in light meters that still work (check the battery first — most use a 1.5V LR44 or similar). If yours doesn't, use a dedicated light meter app on your phone or the Sunny 16 Rule: on a bright sunny day, set your aperture to f/16 and your shutter speed to the reciprocal of your ISO (1/400 for ISO 400 film).
- Expose for the shadows on slide film, for the highlights on negative film. Color negative film (C-41 process) is famously forgiving and can handle 2–3 stops of overexposure gracefully. Slide film (E-6 process) is much less forgiving and rewards precise metering.
- Shoot at the right time of day. The golden hour — the hour after sunrise and before sunset — produces warm, flattering light that scans and prints beautifully on most film stocks.
- Bracket your exposures when unsure. Take a shot at the metered value, one stop over, and one stop under. It uses more film but protects important shots.
Common Film Photography Mistakes and How to Avoid Them
Even experienced photographers make these errors when returning to or starting with film. Being aware of them is half the battle:
- Not checking if the film is advancing. As covered in loading — always verify the rewind knob offers resistance. This mistake costs entire rolls.
- Shooting past the end of the roll. When the advance lever stops moving freely and the shutter won't cock, you've reached the end. Do not force it. Rewind immediately using the rewind release button (usually on the camera base) and the rewind crank.
- Opening the camera back mid-roll. This exposes every frame to light, destroying the roll entirely. Always rewind before opening.
- Forgetting what ISO film is loaded. Write it on a piece of tape and stick it to the back of the camera, or use the memo holder slot many cameras provide for the box end.
- Over-processing or heat exposure. Film is sensitive to heat. Never leave it in a hot car or in checked luggage at an airport (X-ray machines for checked bags use high-intensity scanners that can fog film).
- Choosing the wrong film stock for the lighting conditions. Shooting ISO 100 film indoors without a flash is a recipe for motion blur and underexposure. Match your film speed to your environment.
How to Prevent Light Leaks in Film Photography
Light leaks are arguably the most frustrating issue in film photography. They occur when unwanted light enters the camera and strikes the film, creating streaks, washes of color, or blown-out patches on your images. While some photographers deliberately seek a light-leak aesthetic, uncontrolled leaks ruin shots.
Common sources of light leaks include:
- A degraded foam light seal. This is the number one culprit in older cameras. The foam strips that line the camera back door compress and deteriorate over time, usually turning into a sticky, crumbling residue. Replacing it is a simple DIY fix — light seal kits are available online for most camera models for just a few dollars.
- A cracked or warped camera body. Inspect your camera body carefully before buying secondhand. Hairline cracks near the hinge or latch are red flags.
- Loading or unloading in bright sunlight. Even a few seconds of direct sun exposure during loading can produce fogging on the first few frames.
- A faulty or partially opened back latch. Always double-check that the back is fully and firmly closed after loading.
Prevention checklist:
- Test any new (to you) camera body with a sacrificial roll before shooting anything important.
- Inspect and, if necessary, replace foam light seals on any camera older than 15–20 years.
- Always load and unload in shade or indoors.
- Store unprocessed film in a cool, dark place and develop it promptly — latent image fade and environmental exposure compound over time.
- If you're in Louisville and shooting outdoors during summer, be mindful of the intense midday light — even a quick camera opening in that environment can cause edge fogging.
Conclusion
Mastering 35mm film photography is a rewarding journey that rewards patience and deliberate practice. Load your camera carefully, understand your light, match your film to the scene, and maintain your equipment — especially those light seals. Whether you're exploring Louisville's vibrant neighborhoods or shooting portraits in natural light, analog photography offers a depth of character that digital simply cannot replicate. Embrace the process, and let every roll teach you something new.