The Art and Science of Darkroom Printing in the Digital Age
T.K. Broecker / 28 December 2025
The Art of Darkroom Printing in Louisville
Even in the digital age, many Louisville photographers still love the hands-on feel of the darkroom. There’s something special about watching an image appear slowly in the developer tray—seeing light turn into a real photograph. The look, depth, and feel of a hand-printed film photo are hard to match with a screen.
Darkroom Printing Basics
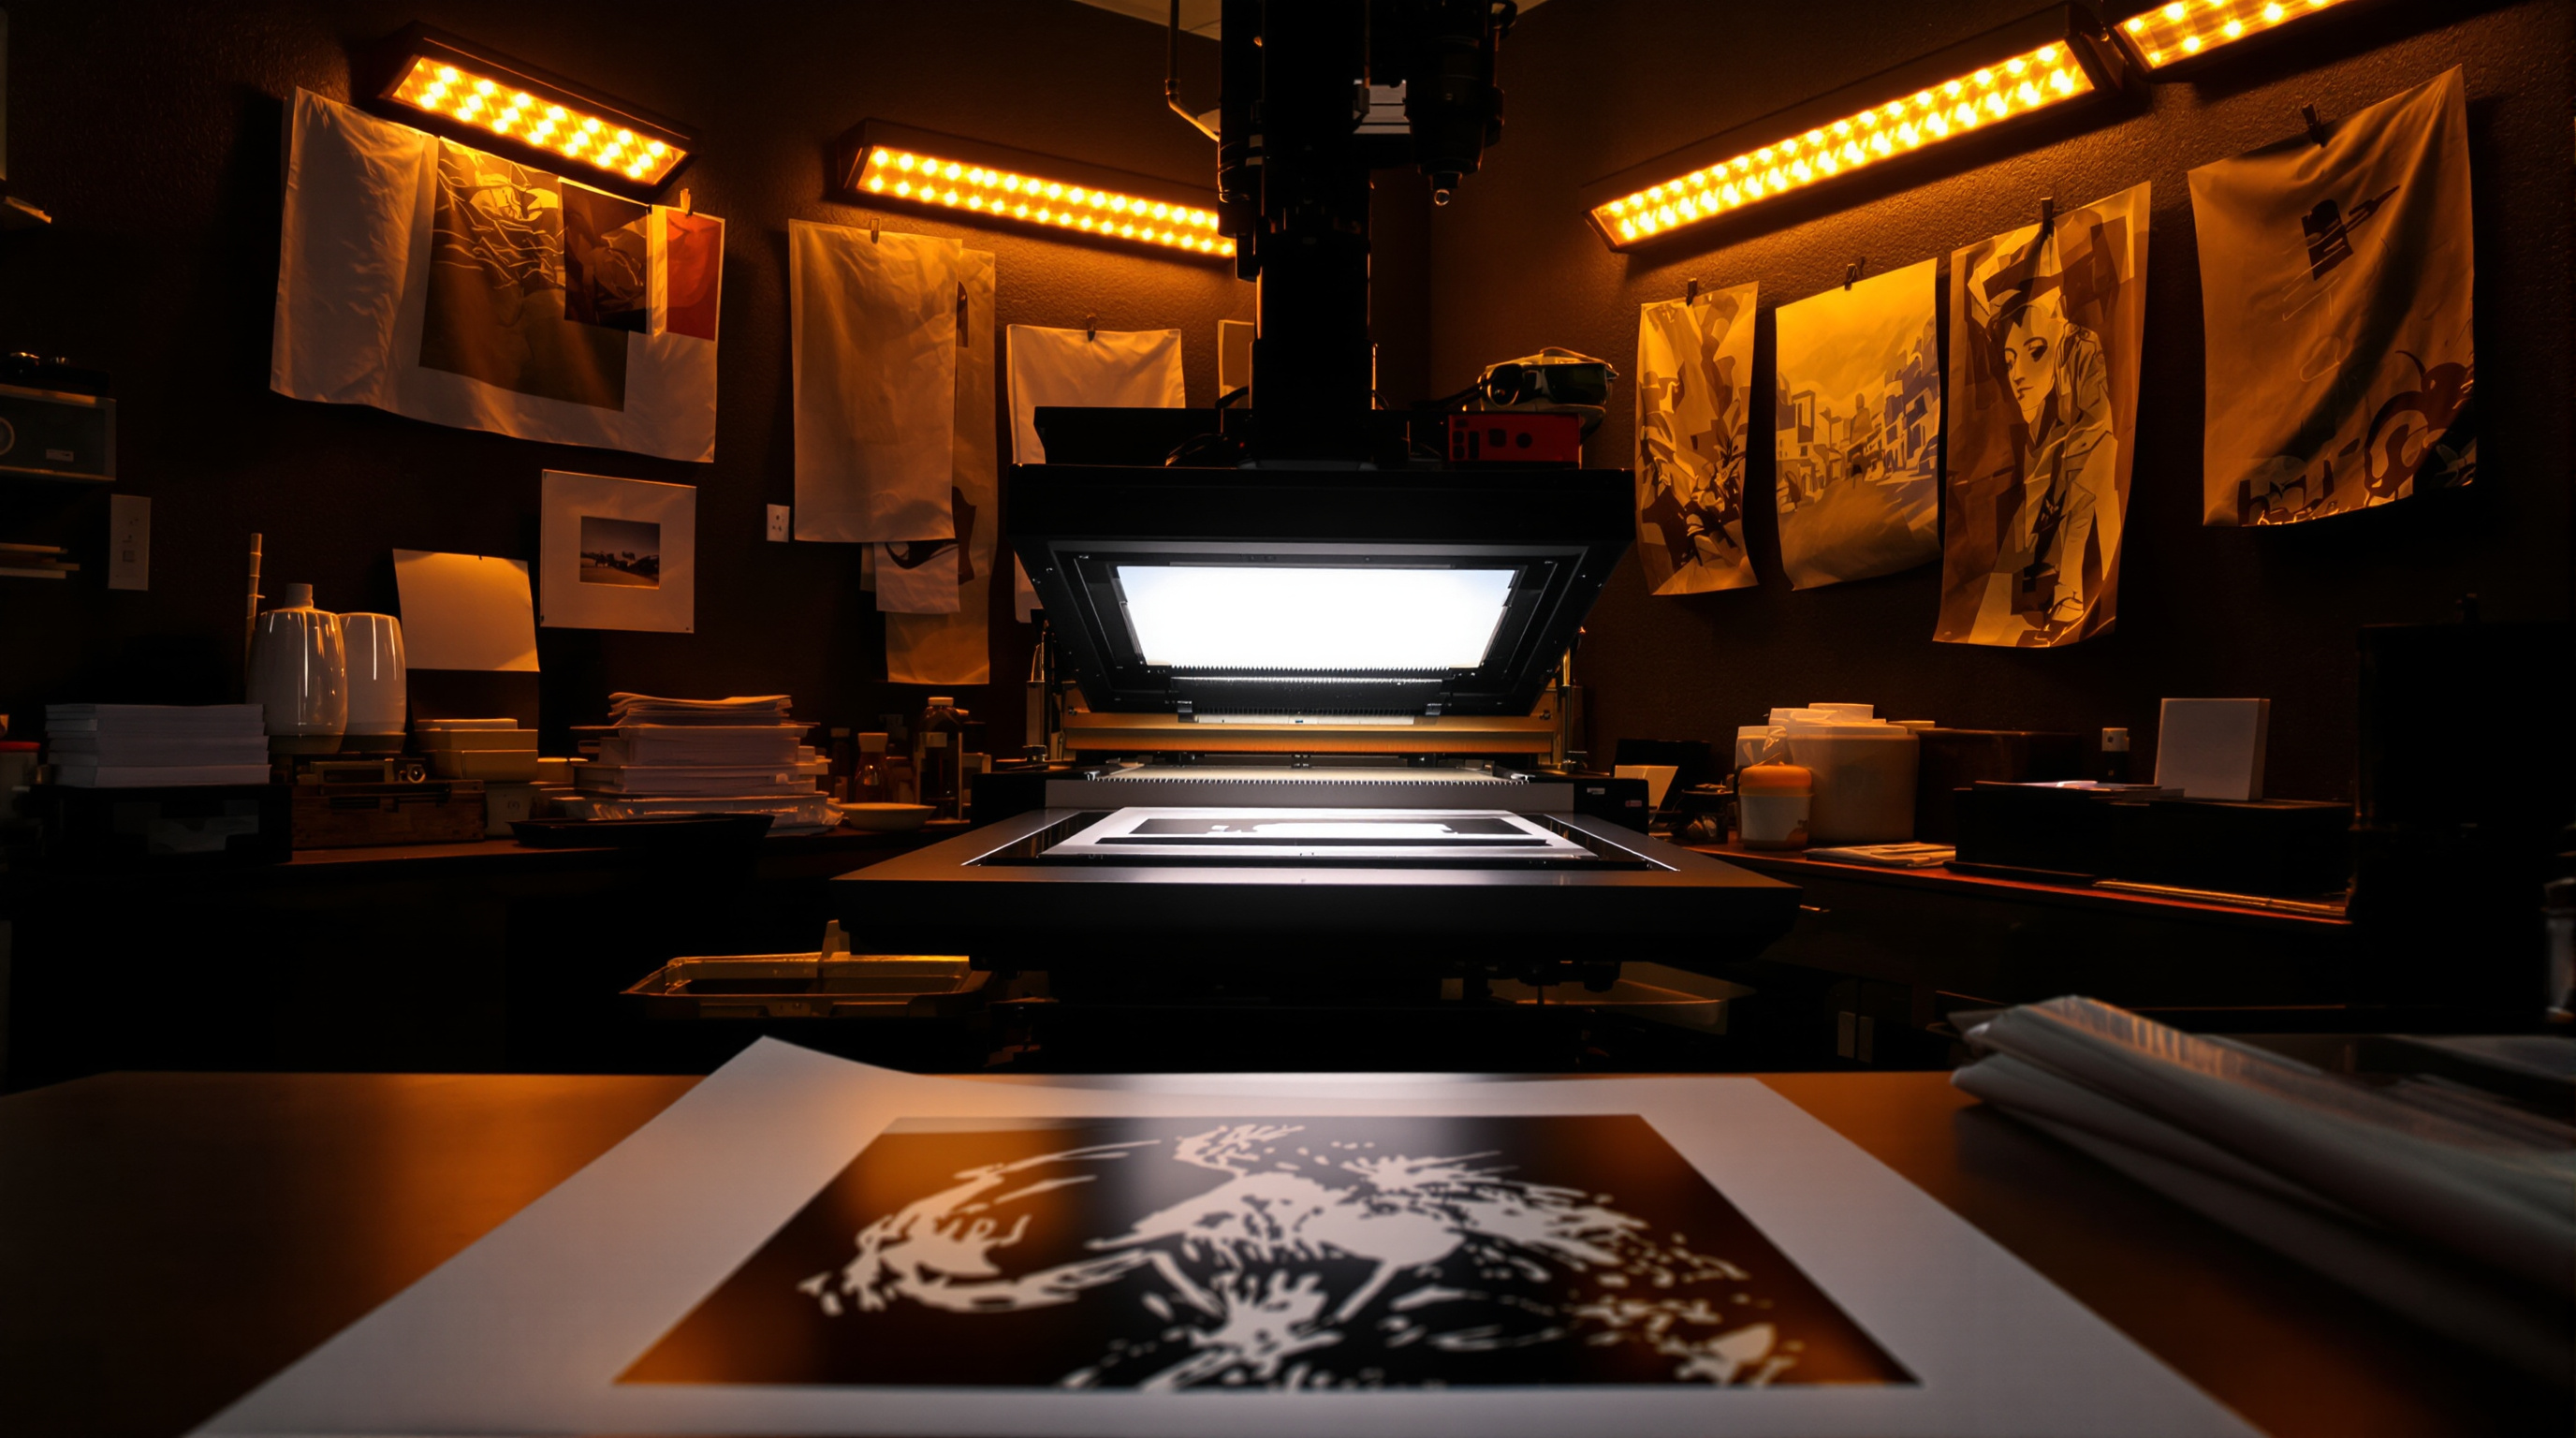
A darkroom is a light-safe space where photos are made from film negatives using light-sensitive paper. Red “safelights” let photographers see while working without exposing the paper.
An enlarger projects the film’s image onto photo paper. Each step affects how the photo turns out:
- Size: The enlarger height sets how big the print will be.
- Exposure time: Controls brightness and contrast.
- Aperture: Adjusts focus and depth.
- Filters: Help tweak contrast or tone.
After the exposure, the paper goes through three baths—developer, stop bath, and fixer. Each one plays a role in bringing the picture to life. This hands-on process is what gives darkroom prints their classic depth and charm.
Silver Halide Paper and Print Styles
The silver halide process is what gives film prints their famous tone and texture. Photo paper is coated with tiny crystals that react to light, forming the final image. Different paper types create different looks:
Popular Paper Types
- Fiber-based: Deep tones, rich texture, built to last—but slow to dry.
- Resin-coated (RC): Quick to wash and dry; modern RC lasts decades.
- Variable contrast: Use filters to fine-tune contrast easily.
- Graded paper: Fixed contrast for consistent results.
Finish also changes how a print feels and looks:
- Glossy: Sharp detail and bold contrast.
- Pearl/Luster: Softer shine with less glare.
- Matte: A flat, artistic surface with gentle tones.
To see examples of modern darkroom papers, visit Ilford Photo’s Darkroom Printing Guide.
Printing in Color
Color printing in a darkroom is trickier than black and white—it takes careful control of light, time, and temperature. The RA-4 process is the standard method for printing from color negatives.
RA-4 Printing Essentials
- Keep temperature steady around 100°F (38°C).
- Balance the three color layers: cyan, magenta, and yellow.
- Follow precise timing to get consistent colors.
Color prints are made using subtractive mixing—layering color dyes to create every shade. Tools like color analyzers help fine-tune balance and tone. Though rare now, the old Cibachrome process made prints from slides with vivid, lasting color.
You can read more about this process at Film Photography Project, which supports darkroom learning across the U.S.
Blending Old and New: Giclée Prints
Many photographers now scan their film and print it as giclée art prints. This method uses archival pigment inks on thick, fine art paper, giving the feel of film with modern precision.
- Scan the film at high resolution.
- Edit gently—keeping film texture intact.
- Print with pigment inks on cotton paper for long life.
These hybrid workflows are popular at labs like The Print Refinery Louisville East—mixing analog detail with digital control for museum-quality prints.
Why the Darkroom Still Matters
Darkroom printing is more than nostalgia—it’s an art form that teaches patience and care. Whether you’re developing silver halide prints or creating digital giclée reproductions, every print tells a story of light and craft. Here in Louisville, that story continues through every artist who steps into the darkroom.
Interested in learning darkroom printing? Explore workshops and printing options at Louisville’s photo labs.
Explore Printing Options